
We recently installed this rustic, reclaimed barn wood, feature wall in our clients home and it looked fabulous when complete!
It was relatively easy to install, incredibly realistic and added such depth and style to the space!
The product comes from “Plank and Mill” ![]()
It’s real wood strips with adhesive on the back not a
“printed on” design that you might find with wall paper.
(I’m not being compensated for this post or endorsement, I/we simply like it that much!)
They have various styles of wood planks for walls plus they offer head boards, barn doors, coffee tables and more. 
Our client choose the “Reclaimed Barn Wood 3″ Wide Planks” wall covering for their project. It came with several different lengths of planks in each box. 
After letting the product acclimate to the space & performing the recommended 48 hour adhesive test; we began to install the planks. Originally we started by creating an overall pattern on the floor as per the instructions but then we decided that it was easier for us to group all of the planks according to size. We made piles of the longest length down to the shortest length. From then we could just choose the size and color of the plank we wanted next in the pattern. That seemed to work better for our project because it wasn’t a complicated design and we were able to incorporate the waste pieces into the pattern from the start, so the finished project was more uniform at the end. I know that using the word “uniform”may sound strange when trying to achieve such a random pattern but from a Designer stand point (and an installer stand point) it’s very important. You don’t want be left with only short pieces or only gray pieces near the end of the project; you want them scattered through out the entire design.
Plus, we didn’t need to layout the pattern on the floor ahead of time; the planks are very random right out of the box. Some pieces have nail holes, some have knot holes, some are more than one color or texture.
Between the various sizes, colors and textures; I think you would really have to work hard not end up with a random pattern! 
You can see how diverse the pieces are.
We just picked a gray board when we wanted more gray in the pattern or we picked a black board when we wanted more black and so on as we moved up the wall.


We used a chop saw or miter saw (like this) 
to cut the pieces to length which I highly recommend for this project.
I’m sure a utility knife would work but, I know my hand would’ve been really sore by the end of the job. However, if you do use one; make sure it’s one where you can easily change the blades & change them often; (wood will dull the blade quickly).
Next we test fitted each piece before exposing the adhesive strip. This is really important because once the wood is on the wall, it’s not coming off. Once we were certain it fit, we removed the red backing & put the plank in place. Removing that red tape was absolutely the hardest part of our whole project. 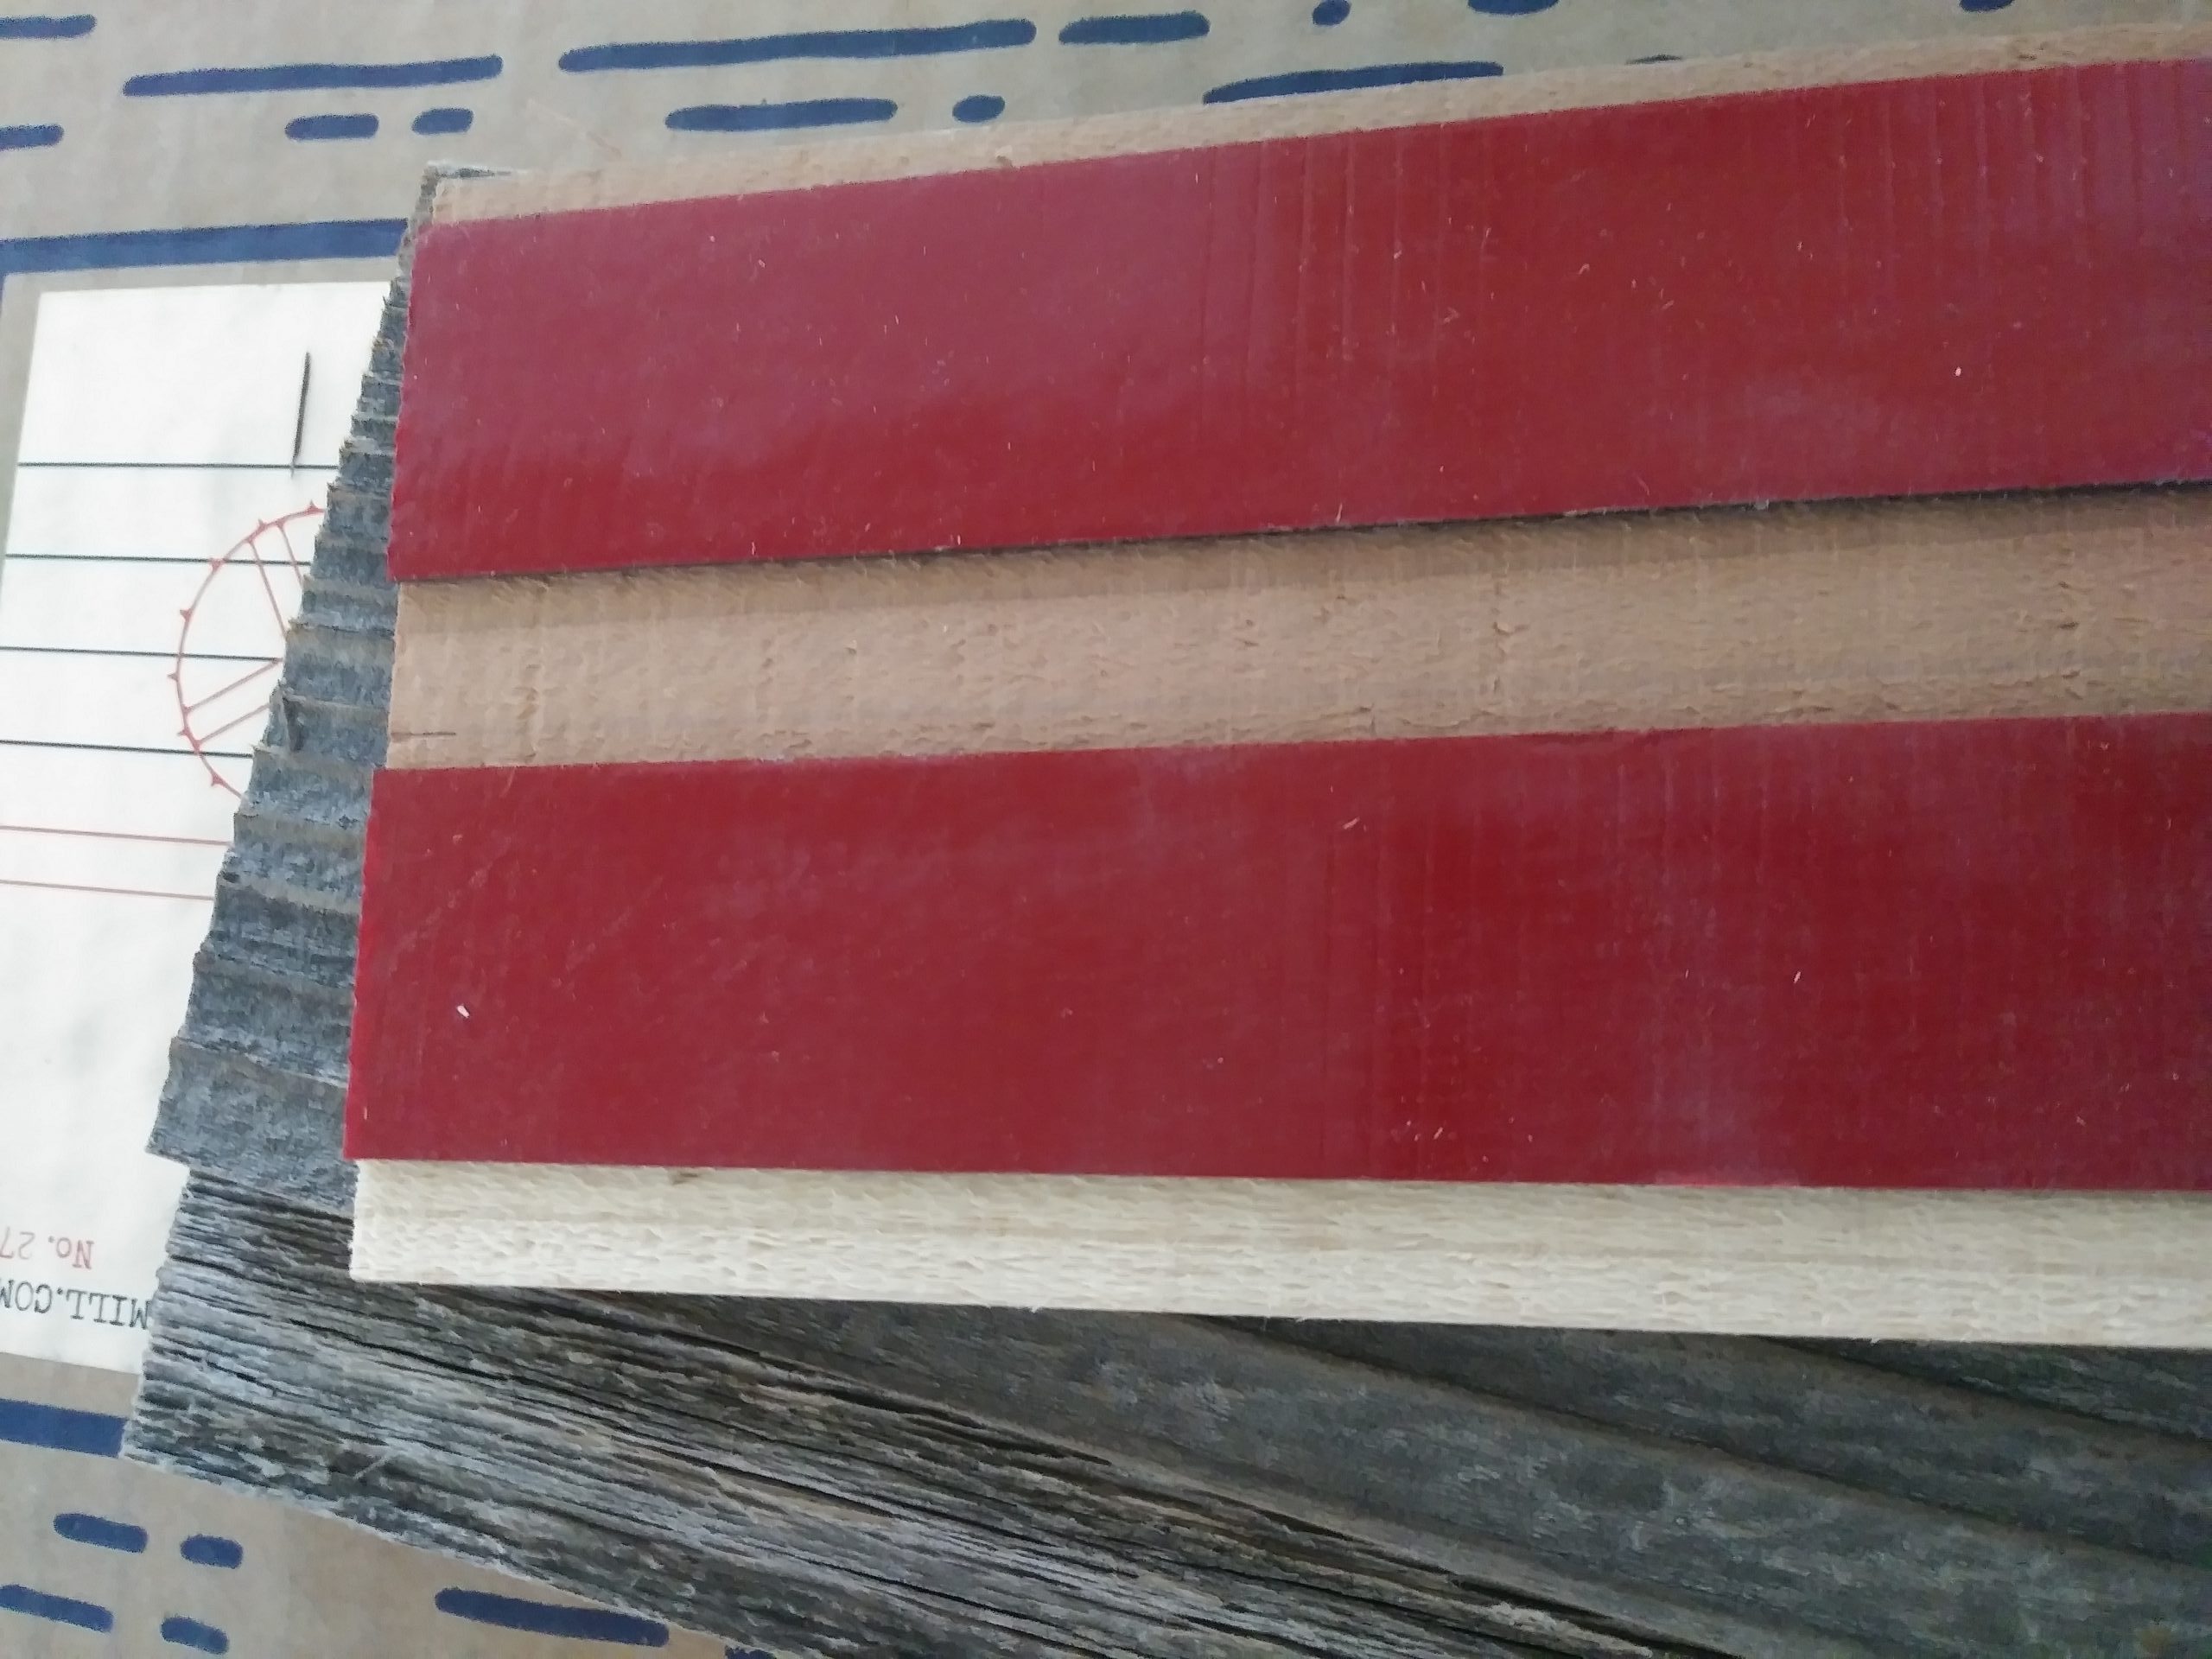
We did discover a small trick along the way though: if it’s a piece that you cut to size, try peeling the red tape at the freshly cut end not the end that was cut by the manufacturer. For some reason it was slightly easier that way.


Now our pattern was a very simple one with little waste but if you opt for a herringbone or a more complicated design; I highly recommend having “Plank and Mill” calculate how much product you will need and follow all of their installation instructions. Or, if your located nearby give us a call, we’d be happy to install it for you. 

